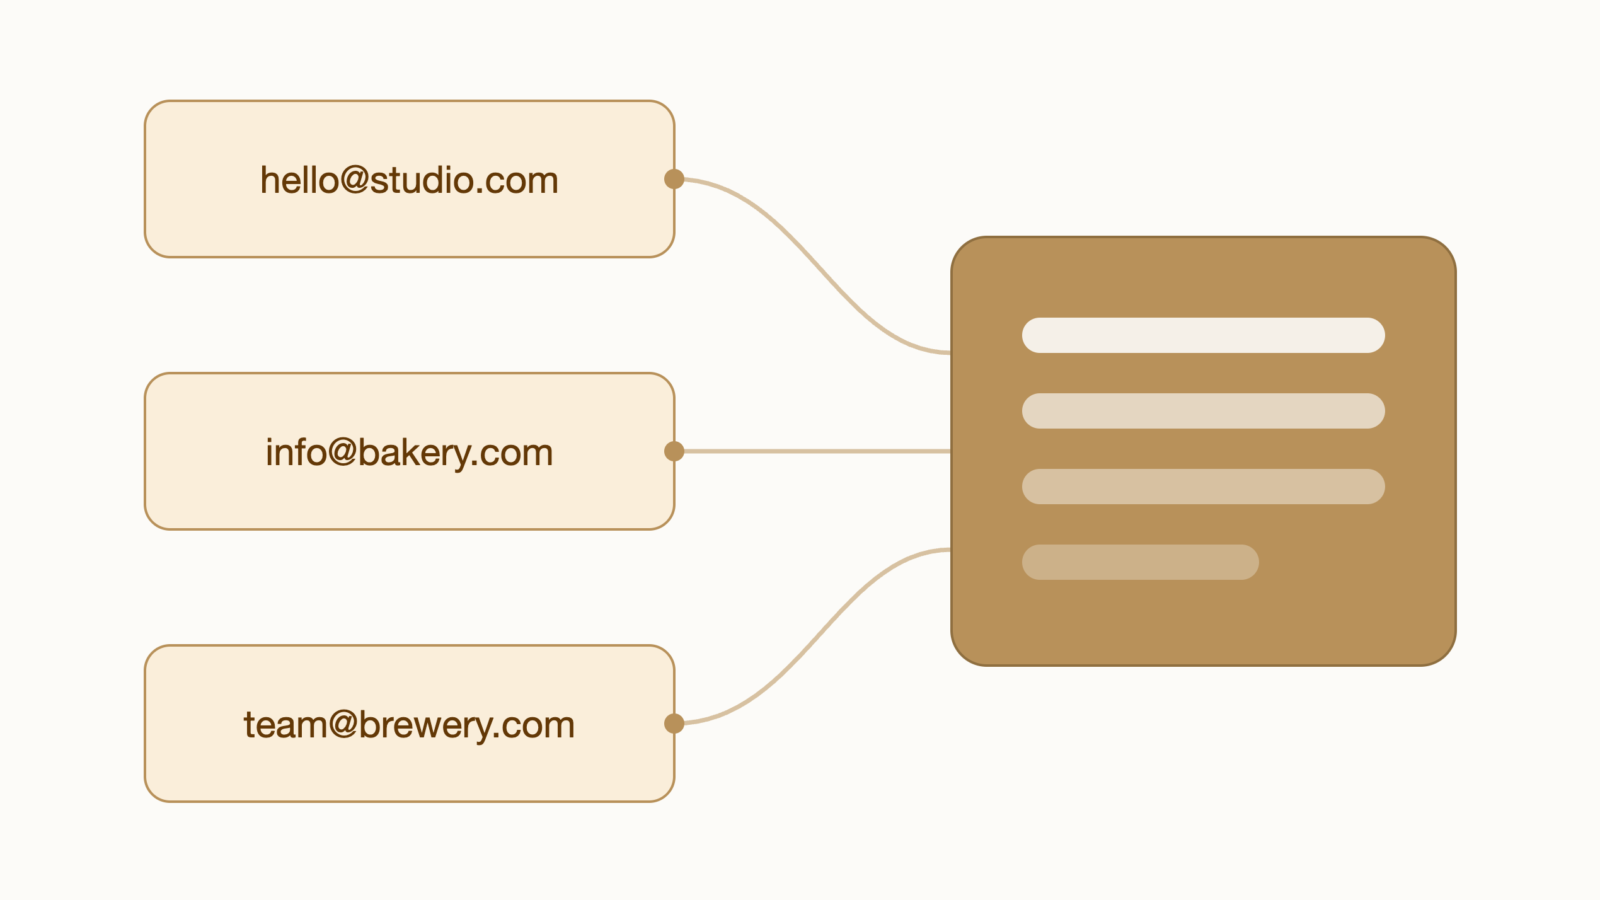
Here are the instructions for routing email from Google Workspace accounts to a single Gmail account, so that you have one place for sending and receiving email.
This only works for Gmail-to-Gmail aliases and Workspace accounts because Google is discontinuing send as for third-party, non-Google accounts.
Receiving email
- Sign into the account whose mail you want forwarded
- Navigate to Settings > Quick Settings > See all settings
- Click the Forwarding and POP/IMAP tab
- Click Add a forwarding address button and enter the Gmail address for the central account
- Click the link in the verification email sent to the central account
- Enable forwarding and choose whether you would like to leave a copy in the original account
- Save changes
Notes:
Forwarding only applies to email that arrives after you enable it. Mail that is already in the inbox will remain.
The verification email includes a numeric code as an alternative to the link. The verification email can occasionally end up in spam.
If the account is managed by a Workspace admin, external forwarding can be disabled at the domain level, in which case the option is grayed out. Contact the admin to change this if needed.
Get an app password
- Sign into the Workspace account that you are adding. Use an incognito window if you are logged into another account.
- Turn on 2-Step Verification in your Google Account Security Settings
- Open the App Passwords page
- Type a name for your app – whatever you want
- Click generate to get your 16-character code. Copy and save this code to use in the Sending email section below, Step 11.
Sending email
- Sign into the central Gmail account
- Navigate to Settings > Quick Settings > See all settings
- Click the Accounts tab
- Under Send mail as, click Add another email address
- Enter the name that you want to show as the email display name
- Enter the email address that you want to send from in the central account
- Check Treat as an alias checkbox and click Next Step
- SMTP Server: smtp.gmail.com
- Port: 587
- Username: email address that you want to send from
- Password: app password (see above for steps to get this)
- Select Secured connection using TLS
- Click Save Changes
- Click the link in the verification email sent to the central account (if you’ve completed the Receiving email section.)